For major holidays, my parents-in-law have made it a delicious tradition to have at least 3-4 beautiful pies for us all to share. They did a thoughtful job each time choosing pies of different genres to fit everyone's tastes (cherry pie, chocolate pie, apple pie, banana cream pie, etc). With each family gathering, they learned quickly there was always one mouthwatering pie that seemed to disappear the fastest of all...
Our church was having a pie social one Saturday evening, and I knew I wanted to try making my very first french silk chocolate pie. It was a pretty big risk: this thing could have bombed hard core! But I think it came together so quickly and easily - saved a lot of oven-pampering time skipping out on a fruit pie. The pie tasted just wonderful (not perfect, but I've incorporated ways to avoid any roadblocks like I did right in the recipe for you!)
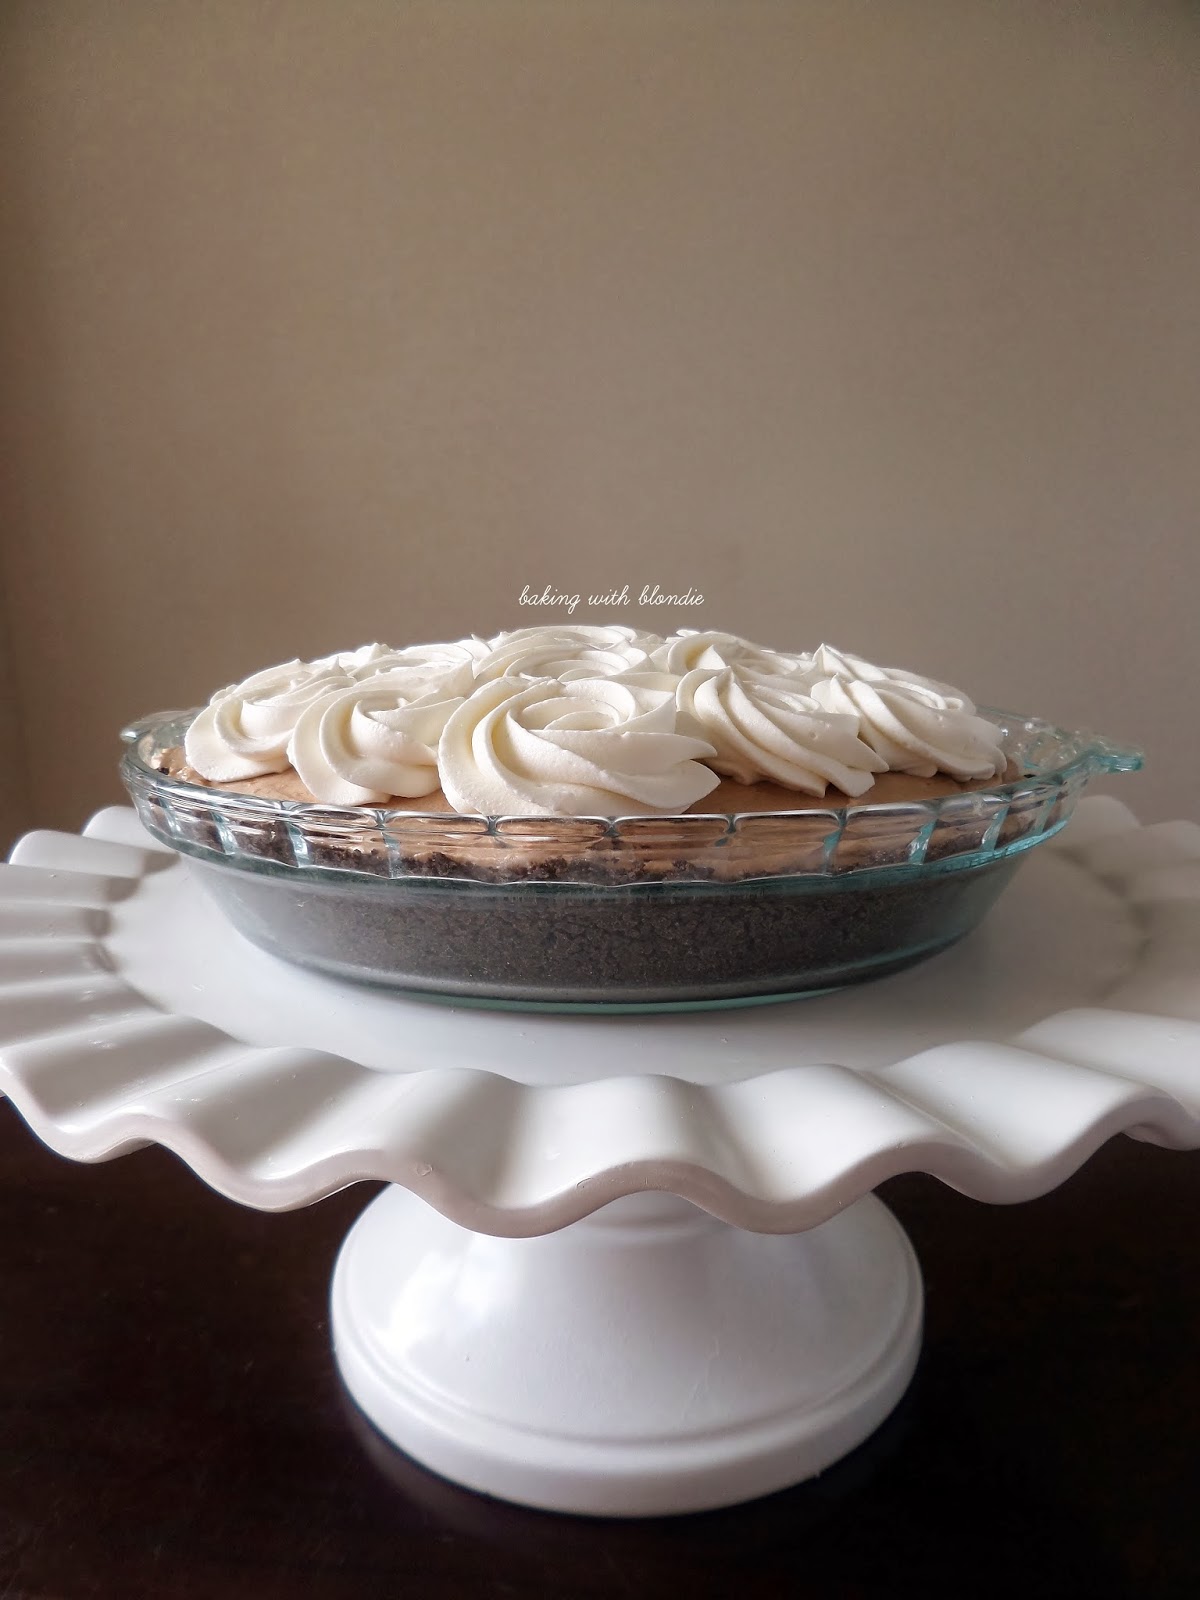
Seeing as how we are in the mint-happy month of March, and Girl Scout Cookie season is in full-force, I thought it would be fun to incorporate the ever-popular thin mints into the crust! If you didn't know the mint flavor was there, you probably would have been confused with the first bite. It kind of caught me off-guard, to be honest - probably because most people would expect the crust to be made from Oreos (which is just as delicious!). But it worked fine, and the creamy chocolaty filling with a hint of almond in the whipped cream rosette topping really tied everything together beautifully.
I've seen rosettes piped on cupcakes and even lined up beautifully on cakes. However, nowhere could I find a pie with rosettes pipes neatly on the top in whipped cream. It was a fun way to personalize this cake with a familiar technique, and I just loved how it turned out! Don't fear the piping tips and bags - it's honestly my favorite part about frosting cakes, and as long as you have the right consistency and proper holding technique, you will LOVE it!
xo,
blondie
French Silk Chocolate Pie with Whipped Cream Rosettes and Thin Mint Crust
makes one delicious pie
ingredients:
Crust
30 thin mints (or grasshopper cookies), can use regular oreos here (with cream center removed)
4 T unsalted butter, melted
Filling
4oz quality bittersweet chocolate
1 t pure vanilla extract
1 C cold heavy cream
1 1/2 sticks (6oz) unsalted butter, room temperature
1 C sugar
3 large pasteurized eggs
Whipped Cream
1 C heavy cream
1 t vanilla
1/2 t almond extract
1 C powdered sugar + more for desired consistency
method:
1. make the crust: Preheat oven to 350 degrees.
2. Create a crumble in a food processor by chopping thin mints to a fine powder. Add melted butter, pulse a few times to bring the mixture together. Press firmly into a greased pie dish, pulling some of the crumbs up the side to create a barrier for the pie filling. Bake about 10-15 minutes. Remove from oven and transfer to a wire rack to cool completely.
3. make the filling and whipped cream: Place metal whisk and metal bowl in the freezer. Heat chocolate in a microwave-safe bowl about 35 seconds. Stir, and repeat with 15 minute increments until chocolate is completely melted. Whisk in vanilla and set aside to cool completely (not harden, but under room temperature).
4. (If you have only one stand mixer bowl, do this step in a separate bowl with hand mixer) In the bowl of your stand mixer fitted with chilled whisk attachment and chilled bowl, beat heavy cream, starting on slow then working your way up to high a minute at a time. When stiff peaks have been reached, add vanilla and enough powdered sugar to achieve your desired consistency. Place whipped cream in the freezer until ready to use.
5. In another bowl of your stand mixer fitted with paddle attachment, beat the butter on medium speed for one minute until creamy. Add sugar and cream until light and fluffy, about 3-5 minutes. Add the cooled chocolate to the creamed mixture. Beat again until thoroughly combined.
6. Add 2 pasteurized eggs and beat on medium-high speed for 3 minutes. Add the remaining egg and beat another 3 minutes until mixture is completely uniform throughout.
7. Remove chilled whipped cream from the fridge/freezer and gently fold into chocolate filling until there are no white streaks. Pour filling into the prepared pie crust and smooth with a cake spatula or offset spatula. Refrigerate for a minimum of 2 hours (overnight is best).
8. to decorate: Pipe on rosettes on the surface with a Wilton 1M Tip and a piping bag. Store in the freezer until ready to serve.
Recipe adapted from: the kitchn
NOTE:
-This recipe contains raw eggs. On a personal note, I am generally not concerned about the risk from raw eggs, which is evidently quite low. I've used pasteurized eggs as a precaution because I was serving this at a public event. But for those who are quite old, children, pregnant, or have a compromised immune system, it is generally recommended that uncooked eggs be avoided. So before you have a french silk chocolate pie in a public potluck setting, just know what you're headed into :)
-Store this pie in the freezer, not the fridge, if pre-decorating the pie with whipped cream. Whipped cream keeps it's form better when stored in the fridge. In addition, adding more powdered sugar to the whipped cream mixture during prep will help keep the form.


That is absolutely gorgeous!
ReplyDeleteThis is so pretty! And, a thin mint crust? Genius!
ReplyDeleteWhat a gorgeous pie! Love the thin mint crust!
ReplyDelete