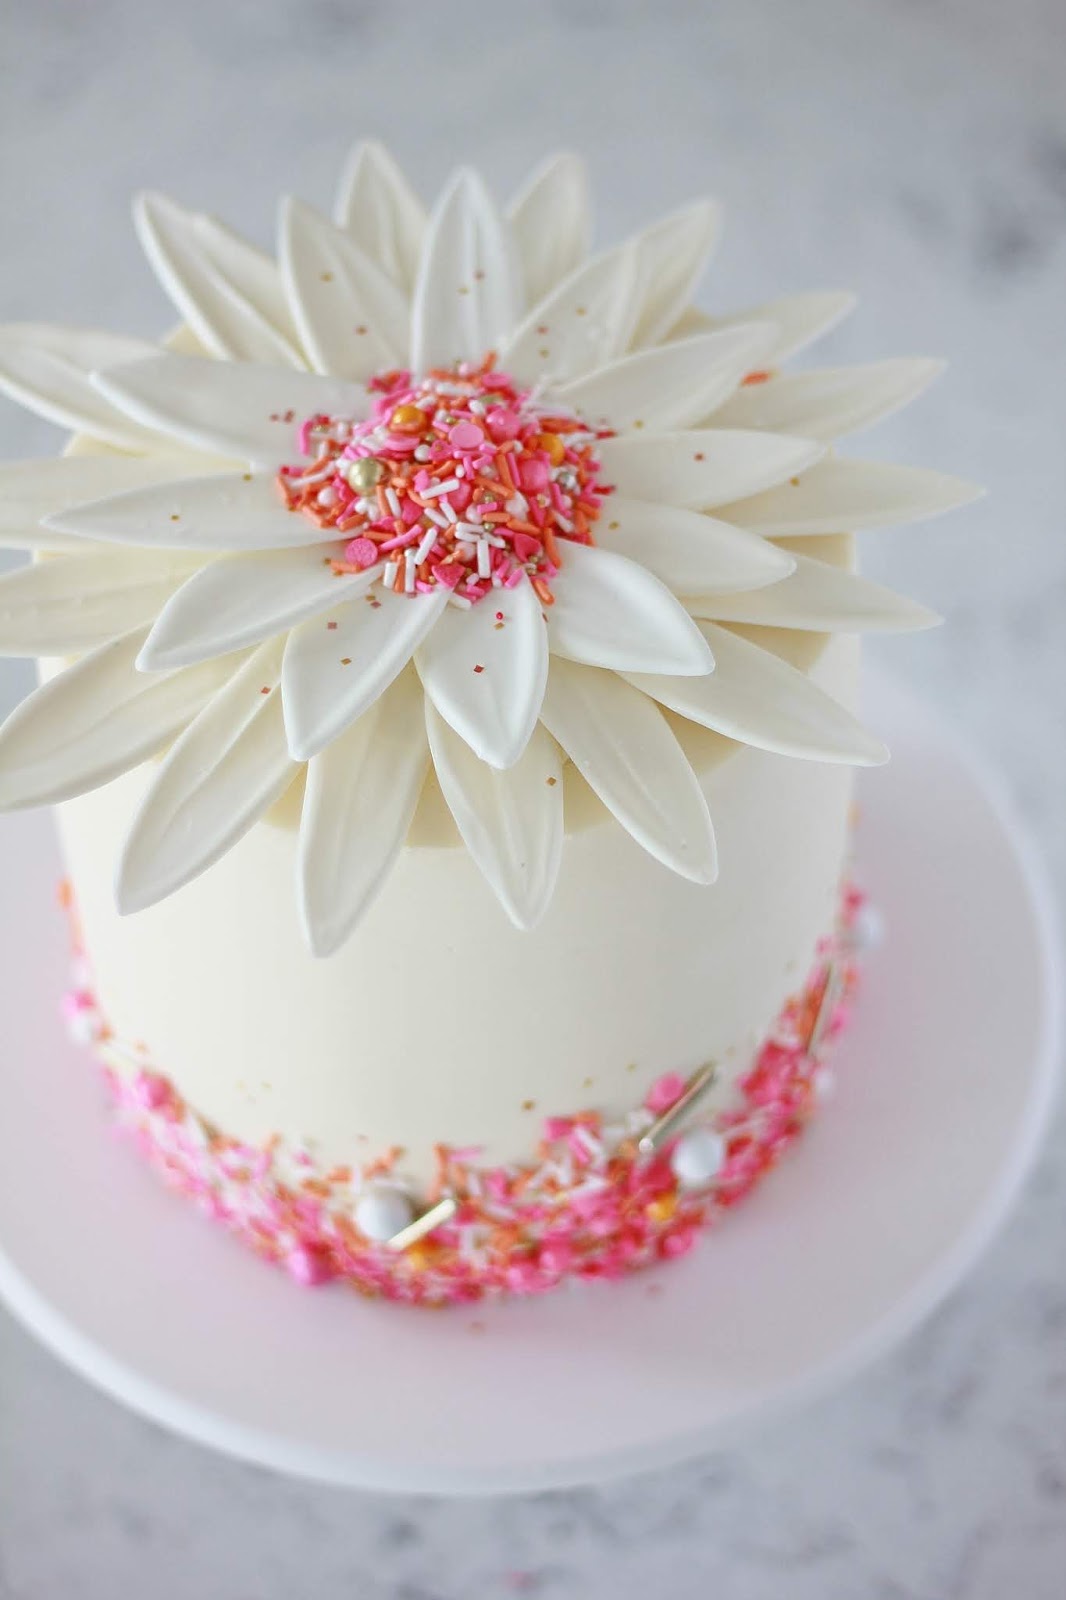
White daisies meet sprinkles here with the easiest chocolate melt flower cake to date! These intricate pedals require only a couple things to form, and make quite the sweet, but elegant statement on this white chocolate daisy cake.
If you haven't checked out my latest candy-chocolate cake, I recently posted about my chocolate peony cake it IT. IS. SOOOOOOO. DARLING! You will just die!
I've always loved peonies, but another love of mine are daisies. I remember on "You've Got Mail" when Meg Ryan says something along the lines of how daisies are the friendliest flowers. I totally agree! When I see daisies, I think of my grandma - she grew lots of beautiful flowers in her immaculate gardens. She would grow daisies by the sand pit where we'd roast marshmallows, hot dogs, dig in the dirt, and swing on the swingset. Oh how I miss her. Funny how things remind of people so quickly - but what a great way to honor them then by making fun things to help us remind us of them, as well, like happy daisy cakes.
Let's dive into this fun little cake, shall we?
First, this beauty was inspired again by my darling baking friend, Erin Gardner, and her clever ingenuity when it comes to all things chocolate flowers on cakes! I adore her creations and have always wanted to make a few of my own.
This one involved two things - melting chocolate and a paring knife! That's it, really. I'll walk you through the steps below.
Like I said, all you need are these two things above to make the magic happen. Melt your melting chocolate in a glass bowl in the microwave for a minute, or use a melting pot to slowly melt that chocolate to an almost liquid state. Lay down some parchment paper on the edge of your counter. I would normally have you put the parchment on a cookie sheet, but I feel like having that edge on the counter makes this entire process so much easier.
Place a little bit of the chocolate on the knife, either with a spoon or by dunking the knife into the chocolate.
Then slightly (very slightly, almost no pressure at all) press the chocolate side of the knife parallel to the parchment paper edge and slightly rub it down, then pull it away. So in short: press down softly, pull back, repeat on the next pedal. Let them dry on the counter for not even 5 minutes, and they should be ready to pull of and place on your cake!
Start off with a blank canvas. I wanted to use these really fun Sweetapolita sprinkles "Pretty as a Peach" on a cake, and asap! I knew these would be fun to wrap around the bottom of the cake, but also to use as the center of the flower. You can do any design with this daisy cake, really!
Next, add a bit of buttercream to act as "glue" for the petals.
Start with the outside row...
...then add more buttercream to the center for the inside row. I slightly angled my inner petals to make them look more flower-like.
Once you've filled the outside and inside layers...
...add some buttercream in the middle.
Then with a spoon or your hand, slowly add/press the sprinkles on, then carefully brush away any excess. You're all done!
See? I promised it was easy. And beautiful. And fun.
And... well, I think this is the beginning of lots of cakes using this really darling chocolate flower technique, that's for sure!
I'll be showing this technique, the peony technique, as well as one more fun cupcake version this week on Studio 5 (video tutorial on there will be available after Tuesday afternoon!). So make sure to tune in to see all the action!
Hope you all have a fun week, and make sure to tag #bakingwithblondie when you make these fun chocolate flower cakes so I can see what you're up to! I LOVE to your Baking with Blondie inspired creations! :)
xo - Mandy
Chocolate Daisy Cake
Ingredients/Supplies:
parchment paper
paring knife
chocolate melts
cake
buttercream
sprinkles
Method:
1. Lay out parchment paper on a flat surface (countertop works best for this). Melt chocolate and dip paring knife into it. Slowly press down and pull back, leaving a sharp chocolate petal. Let dry for 5 minutes until hardened.
2. On a frosted cake, spread a layer of buttercream around the top (leaving about an inch or so rim around the outside). Press petals on the outside rim, then the inside. Dollop more buttercream in the middle, then add sprinkles.


beautiful <3
ReplyDeleteThis is so pretty. Love it!
ReplyDeleteCharlotte Moore
That is such a fun look and very impressive at the same time. Thank you for being so creative.
ReplyDeleteThis is so so cute. Could you do a video tutorial for it? :)
ReplyDelete